Baked Applesauce Donuts with Maple Glaze

IMG_3283

We slept with the window open, woke to cool crisp weather, and I swear I could smell fall! That smell quickly faded into a humid 80-degree late summer day, but that didn’t keep me from wanting to bake a fall-like treat.

Each fall I make loads of applesauce that I freeze. Since apple season is around the corner, we have to use up our few remaining quarts. In comes the donuts! About a year ago, my Nana gave me a donut pan that has been sitting in a drawer, losing hope of ever being used. Fear not little pan!! Now that I know the goodness that pan can create, it will be well-loved for years to come!

These donuts are so easy. You need a few staple ingredients from your cabinet, plus a bowl and whisk. In a few minutes, voila! Amazing applesauce donuts with virtually no sugar. Top them with a simple maple glaze and you’ve got a great sweet fall treat!

IMG_3280

Applesauce Donuts with Maple Glaze

1 cup milk

1 egg

1/2 cup unsweetened applesauce

1 teaspoon vanilla

2 cups flour

2 tbsp sugar

2 tsp baking powder

1 tsp cinnamon

1/2 tsp salt

Maple Glaze

2 tbsp butter

1/4 cup pure maple syrup

1 cup confectioners sugar

Preheat oven to 350 degrees. Lightly butter a donut pan. In a bowl, whisk together the milk, egg, vanilla, and applesauce. Add the remaining ingredients and mix until smooth. Fill the pan 3/4 full with the batter and bake for 12-15 minutes, or until a toothpick comes out clean.

Let the donuts sit in the pan for 5 minutes before removing them to cool on a parchment lined cooling rack. Repeat with the remaining batter. There should be enough for 12 donuts.

While the donuts are cooling. Melt the butter in a saucepan with the maple syrup. Once the butter is melted, remove from heat and whisk in the confectioners sugar. Continue to mix until smooth. Dip one side of the donut into the pan and put back onto the cooling-rack to set.IMG_3285

Maple Barbecue Sauce

IMG_3252

Woo wee has it been a while or what?!?! I can’t believe the blog still gets plenty of visitors considering I haven’t posted in NINE months. I was thinking about how much I miss using the blog as an excuse to try new recipes and share life’s journeys with my followers. So, I logged back in and I’m happy to be here.

Let me quickly recap the last nine months in a few short words… finished year #2 teaching, started my Master’s program, got engaged, got married, went on a honeymoon (Iceland), went to take classes (Montana)…….

Yep – all of the above did happen!

On another note, I have realized the success to a great barbecue is a great barbecue sauce. What I have also realized is that plenty of the barbecue sauces on store shelves have way too many ingredients, including preservatives and color additives (yuck). And with our unlimited supply of maple syrup, why not toss that into the bunch! The following makes two cups of a tangy, tasty, spicy, and sweet sauce. It can be stored in the fridge for up to two weeks in a tightly sealed container (or make and freeze a big batch of pulled pork!).

IMG_3253

Sweet and Spicy Barbecue Sauce

  • 1 1/4 cups organic ketchup
  • 1/4 cup maple syrup, Grade B
  • 3/4 cup light brown sugar
  • 1/4 cup apple cider vinegar
  • 1 tbsp Worcestershire sauce
  • 2 1/2 tsp mustard powder
  • 2 tsp paprika
  • 2 cloves garlic, minced (or 1/2 tsp garlic powder)
  • 1/2 tsp cayenne pepper
  • 1 tsp salt
  • 1/4 cup cold water (add up to 1 tbsp cornstarch if needed)

In a medium saucepan, combine all ingredients except water. Bring to a boil slowly. Add the water. Let simmer for 5 minutes or until thick. If you started with a really thick ketchup, the cornstarch is probably not needed. If needed, mix a bit with some cold water and add to the sauce. Let simmer for another few minutes. Remember that as it cools, it will thicken up.

Bacon Bourbon Jam

IMG_2264

Ty subscribed me to Martha’s ‘Living’ for my birthday last year – a magazine I am only slightly addicted to. He flipped open a random page to see a recipe for ‘Bacon Jam’, slammed the magazine on the table with his finger on the page and declared “YOU are making this for Thanksgiving.” (Emphasis on the YOU).

What turned out to be a surprisingly easy recipe was a hit! Served with some toasted bread and a slice of nicely aged cheddar, not much was left in the jar at the end of the evening.

IMG_2276

Bacon Bourbon Jam

1 1/2 pounds thick-cut smoked bacon (I used hickory smoked – yum)

2 cups shallots, finely chopped

4 cloves garlic, finely chopped

1 teaspoon chili powder

1/2 teaspoon ground ginger

1/2 teaspoon ground mustard

1/2 cup bourbon

1/4 cup maple syrup

1/2 cup cooking sherry

1/3 cup light-brown sugar

1. Slice bacon crosswise into 1-inch pieces. Cook in a deep skillet or large pan over medium heat until browned. Work in batches. Remove fat from pan between each batch. Retain one tablespoon of bacon fat and do not scrape all the brown bits at the bottom of the pan. Drain bacon on paper towels.

2. To the pan with 1 tablespoon bacon fat. Add shallots and garlic. Saute until soft and translucent – approximately 5 minutes. To the shallots, add chili powder, mustard, and ginger. Saute for a few additional minutes.

3. Add bourbon and maple syrup to the mixture. Increase heat to high and stir until boiling. Add sherry, brown sugar, and bacon and return to a boil. Reduce heat to low and let the mixture simmer until well-thickened and reduced – about 10 minutes.

IMG_2260

4. When reduced, transfer jam to a food processor and pulse a few times to break up to the bacon into small pieces. Toss in a jar and refrigerate for up to 4 weeks. Serve at room temp with a toasted baguette and aged cheddar cheese.

IMG_2291

So much to be thankful for this year…. 

Butter Lettuce, Avocado, and Mango Salad

IMG_1875

We have lettuce ready! This is the first year we have ever had lettuce (and radishes, and carrots, and beets). I guess our soil is finally happy 🙂 Composted manure must do the trick!

Mango’s were on sale a little local market, so I bought a few, but tossed them in the fridge and forgot about them. When I grabbed one today, it was perfectly ripe. After a little searching, I noticed that mango and avocado make quite the pair. Along with a slightly sweet cider vinaigrette, a trio of fresh picked lettuce, mango, and avocado, makes this salad a perfect pre-dinner treat on a triple-H day. For those of you non-New Englander’s, triple-H means Hazy, Hot, and Humid!

Butter Lettuce, Avocado, and Mango Salad

A bunch of butter lettuce – cleaned and torn into bite size pieces

1 ripe mango, diced

1 ripe avocado, diced

1/2 yellow onion, thinly sliced

feta cheese, crumbled

Dressing

2 tbsp olive oil

1 tbsp cider vinegar

1 tbsp lemon juice

1 tbsp maple syrup (honey would work too!)

freshly ground pepper (just a dash or two)

1. Split the salad ingredients between 3-4 salad bowls. Sprinkle with some feta.

2. In a jar, combine the dressing ingredients. Shake well, taste. Adjust for sweetness by adding more vinegar or syrup. Drizzle on salad. Enjoy!

IMG_1878

Strawberry Preserves (pectin free)

IMG_1685

The strawberries are finally ready in Vermont! We took full advantage of this and visited a local organic berry farm. Over 11 lbs of strawberries later, some serious jamming had to be done. I made two batches of preserves, the first is outlined below and the second was a variation in which I added some frozen blueberries that we picked last summer.

IMG_1684

We are not big fans of sugary fruit in this household, so I kept the added sugar to a minimum and used some maple syrup for additional flavor. I’d much rather taste my strawberries slightly sweetened than taste strawberry flavored sugar.

Strawberry Preserves

14 cups fresh strawberries (cleaned, whole)

1 1/2 cups sugar

1/2 cup pure VT maple syrup

1/4 cup lemon juice, plus juice of 1 lemon

1 tbsp vanilla extract (optional)

1. In a large stock pot over medium heat, add all of the above ingredients. As the mixture warms, mash with a potato masher. The berries get easier to mash as the mixture warms (but the warming increases the chance of splattering). Bring the berries up to a boil and reduce to a summer for about 30-45 minutes or until thick. Remove foam with a spoon, if needed. To test the readiness of the jam, use the spoon test, plate test, or temperature test. Check out this great how-to guide to determine when your preserves are jellied.

IMG_1690

2. In a separate pot, bring 4-5 pint-sized mason jars to a boil. Sterilize for 10 minutes. The number of jars needed will depend on natural pectin and simmering time of the berries.

3. Pour jam into sterilized jars leaving about a 1/2 inch head space. Clean rim and top with a sterilized and unused lid (keep in boiling/hot water until use). Tighten the lid ring lightly and process in boiling water for 10 minutes.

IMG_1692

4. Remove, let cool, listen for the POP (my favorite part), and enjoy whenever you need a fresh berry taste! Store in a cool, dry, and dark place.

IMG_1803

Vanilla Cake with Maple Frosting

IMG_1244

As mentioned previously, sugaring season is upon us (see last post). The guys boiled in January during a short warm-up when the sap ran and we ended up with a fresh half-gallon of 2013 syrup! Now that the stock is back, I had to get cooking with it… plus maple syrup screams spring and since I’ve come down with some spring fever, it made me happy. Be prepared for many maple-posts… sweet, savory, and in-between!

A while back my mom discovered Scandinavian Almond Cake from a neighbor. It is the simplest, tastiest, easiest dessert that never ceases to please. Of course I didn’t have any almond extract, but using the basic recipe that came with the cake dish, I substituted the almond with vanilla. I then topped it with a simple maple glaze. While it came out delicious, I had the clumsy bug. At almost every-step I did something clumsy; spilled some batter, broke the cake, dropped the sliced and plated pieces.. yeesh. Looks don’t matter right?? I mean it still tasted great!

IMG_1233

Vanilla Cake

1 1/4 cup sugar

1 egg

1 1/2 tsp vanilla extract

2/3 cup milk

1 1/4 cup flour

1/2 tsp. baking powder

1 stick melted butter

1. Pre-heat oven to 350°F. Beat sugar, egg, vanilla, and milk until smooth. Add flour and baking powder, beat. Add melted butter and beat well until creamy.

IMG_1234

IMG_1235

IMG_12362. Spray pan with cooking spray (if you don’t have the special Scandinavian cake pan, a loaf pan will work fine). Pour the batter into the pan and bake for 45-55 minutes, until the edges start to look golden. After it cools for 5 minutes, remove cake from pan and place on cooling rack.

IMG_1237

Maple Frosting

1/4 cup pure maple syrup

1 tsp vanilla extract

1 cup confectioner’s sugar

1. Mix all three ingredients and whisk. It will thicken up quickly. When cake is cooled, pour frosting over cake. I recommend placing the baking rack over some wax paper, as the frosting will drip and it will be a pain to clean off your counters (trust me, I spent 10 minutes cleaning it up).

IMG_1240

Spring Fever!!

IMG_1171fresh out of the tree

Yes, it’s only the beginning of March… but was sunny yesterday, sunny today, and should be sunny tomorrow. There is not a cloud in the sky, the thermometer reads 49 degrees, and the sap is running!

What better way to celebrate this weather than to plant seeds and start thinking GARDENING!?! I finally found time to get my hands dirty – literally dirt-y! Then I baked a vanilla cake with maple frosting (recipe to come) and layed out on the porch to bask in the glory of sun and fresh air! Check out some photos…

IMG_1196

tapped trees

IMG_1202

sugarwoods

IMG_1195

pouring down the lines

IMG_1223

boiling during a beautiful sunset

And for the planting of seeds….

IMG_1227

Using the sink to expand the seed-starting peat… great idea!

IMG_1228

oh the garden dilemma – so many seeds, so little time!

IMG_1230

peppers, just waiting to sprout

IMG_1232

What I’ve planted for veggies (thus far!)
4 – Jalapeno
4 – Cherry Pepper
4 – Pepperoncini
5 – Orange Bell Pepper
5 – Chinese Giant Bell Pepper
3 – Chili Verde Pepper
2 – Hot Lemon Pepper
3 – Tomatillio
3 – Yellow Pear Tomato
4 – ‘Long Keeper’ Tomato
14 – Roma Tomato
3 – ‘Mortgage Lifter’ Tomato
3 – ‘Jubilee’ Tomato
6 – Broccoli
6 – Cauliflower
4 – ‘Romanesco’ Broccoli
3 – ‘Black Beauty’ Eggplant
3 – ‘Asian’ Eggplant
5 – Cabbage
5 – Purple Cabbage
6 of each – Fennel, Leek, Celery, Lavender, Oregano, Sage, Thyme, Dill, Basil, Thai Basil, Cilantro, Parsley
 
What I’ve planted for flowers (thus far!)
Marigold Snowdrift
Marigold Marietta
Zinnia Cut & Come Again
Zinnia Purity
Zinnia Pinwheel
Coleus
Chrysthansemum Polar
Chrysthansemum Tri-color
Painted Daisy
Dianthus
Columbine
Delphinium
 

Apple Cinnamon Rolls with a Maple Glaze

Although I rent, I spent the day picking up the area around my little townhouse. I re-potted my herbs with some fresh potting soil/compost and brought them inside. I emptied the pots that held my patio tomatoes and peppers. I packed up the pots and containers and put them in our storage area. I stacked the chairs and moved the grill to a more secure area- all in preparation for Sandy.

While doing all of this, I emailed my grandmother for her ‘sticky bun’ recipe. If Sandy is going to kill our power, I’d like something yummy to munch on! The recipe is for a semi-sweet dough that can be made into just about anything; loaves, rolls, buns, (Grammy’s sticky buns) etc. In my head, I wanted an apple-cinnamon roll, so I devised a plan for the filling and set out on a mission. The dough recipe is quite old. It comes from a 4-H cookbook that my grandmother got back in Jr. High!

Apple Cinnamon Buns with Maple Glaze

For the Dough

2 pkgs yeast (I used rapid-rise)

1/4 cup lukewarm water

1 cup milk

1/4 cup butter

1/2 cup sugar

1 tsp salt

2 eggs, beaten

4.5-5 cups flour

For the Filling

1/2 cup butter

1 cup brown sugar

1/4 cup cinnamon

3-4 apples, peeled and chopped into small pieces

For the Frosting

1/4 cup maple syrup (grade B preferably)

1/2 cup confectioner’s sugar

1 tsp vanilla extract

1. In a small bowl, combine the water and yeast. Stir and let sit.

2. In a large saucepan over medium heat, scald the milk. Remove from heat and add the butter, sugar, and salt. Whisk until it begins to cool (about 3 minutes). Then whisk in the eggs until combined. Add the yeast/water to the milk mixture. Then add 4 and 1/2 cups of flour. Stir to combine. The dough should form to be soft and barely sticky. If it is too sticky, add more flour.

3. Transfer the dough to a lightly floured surface and kneed for 5-10 minutes or until the dough is smooth. Place the dough in a lightly greased bowl and cover until doubled in size. Punch the dough down and transfer back to a lightly floured surface. Roll the dough out to an approximately 1/4 inch thick rectangle. This will be huge, so cut in half length wise. See the image below.

4. In a small pot over medium heat, melt the 1 stick of butter for the filling (1/2 cup). The butter will start turning amber after a few minutes of simmering. When this happens, remove from heat. In a separate bowl, combine the brown sugar and cinnamon.

5. Spread a couple spoonfuls of melted butter over each half of the the rolled-out dough. On top of the butter, sprinkle the brown sugar mixture evenly, then sprinkle the apple pieces. Roll each half of dough tightly. You will want to roll along the long edge. See the image below.

6. Pinch the edges of each roll to close and slice into rounds every 1.5 inches. Place the rolls loosely into a greased baking pan. If there is any remaining melted butter, drizzle over the top of the rolls (optional). Cover the pan(s) and let rise for about 30 minutes. In the meantime, preheat the oven to 375°F. Bake the rolls for 18-20 minutes or until the top starts to brown.

7. While the rolls are cooling, mix together the three ingredients for the glaze. Whisk well until there are no longer any sugar clumps. Drizzle over the top of the rolls.

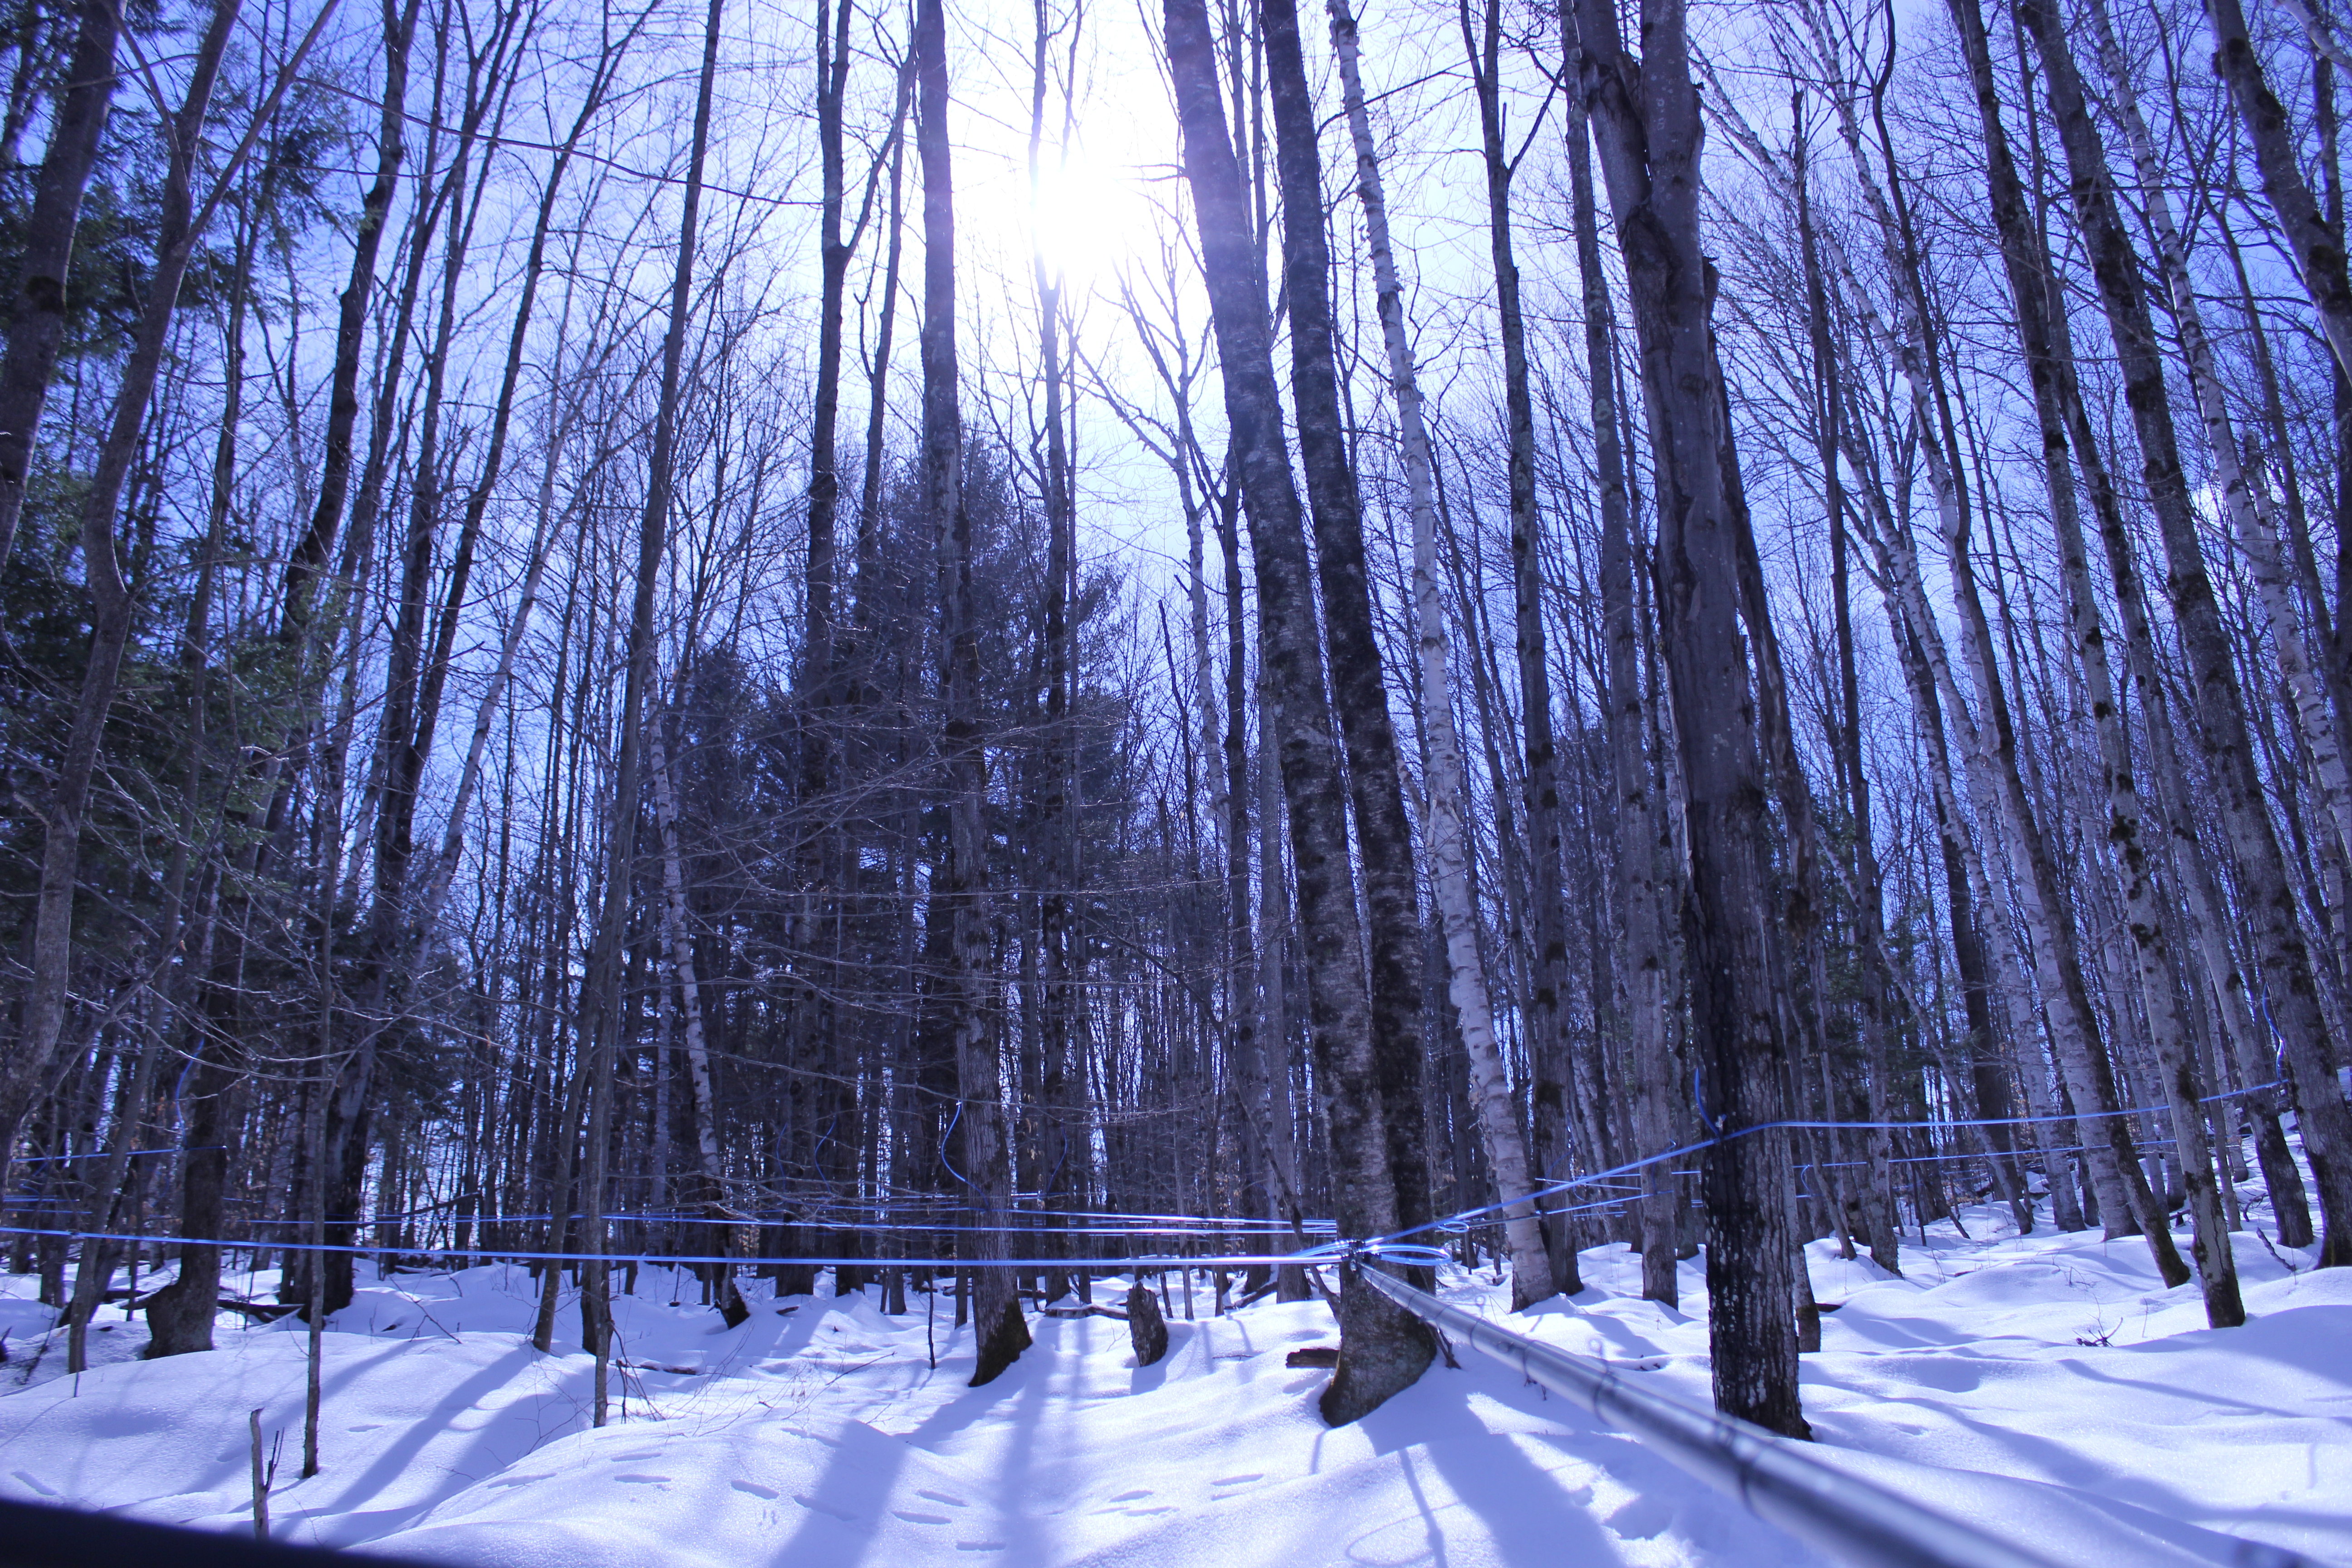
I did manage to take a break and go visit Ty, who was doing some sugaring stuff (yep- that is what I call it!). It was eerily quiet out, almost like a calm before the storm.

Boomer found a squeaky dog toy that must have flowed miles down river. He was extremely proud of himself and would not drop it… well, until he killed the squeaker.

There are barely any leaves left, which is good as we are predicted to get 75-90 mph winds.

I just had to share this- We got 3 huge butternut squashes this year. Boomer-sized squashes! He wasn’t pleased that I woke him to pose with the squash.

Apple Bread with Maple Glaze

This weekend has been cool and drizzly. It’s perfect leaf-peeping weather. The colors pop against the low dark clouds. It’s also great baking weather. I really should have been doing work (planning an entire unit for physics), but baking something sounded like much more fun. This Apple Bread is a perfect coffee accompaniment and screams Vermont fall!

Apple Bread with Maple Glaze

1 cup sugar

2 cups AP flour

2 tsp baking soda

1 tsp baking powder

1/2 tsp cinnamon

1/4 tsp nutmeg

1/2 tsp salt

3 medium tart apples

1 stick unsalted butter, melted

2 eggs

1 cup buttermilk

1. Preheat oven to 400°F. In a bowl, combine the sugar, flour, baking soda and powder, spices, and salt. Mix well.

2. Peel and chop the apples into small (quarter to half inch) chunks. Add to the dry ingredients and toss to coat.

3. In a separate bowl, whisk together the butter, eggs, and buttermilk. Add to the dry mix and stir to combine. Pour into a loaf pan lined with parchment paper. Bake for about 50 minutes (or until a toothpick comes out clean).

Maple Glaze

1/4 cup maple syrup

3/4 cup confectioners sugar

1 tsp vanilla extract

1. While the bread is cooling, mix together all ingredients. Drizzle over the bread and let cool.

I took these pictures this past week. The colors are changing fast!

Ty’s been busy putting up more sap lines (which is good, because I’ll be fresh out of syrup soon!)